How to seal your Ceramic Cremation Urn
Sealing a ceramic cremation urn is simpler than it looks. A small amount of adhesive on the rim of the lid keeps the ashes secure and lets you display the urn safely indoors or out. This guide walks through the steps clearly, and answers the questions families most often ask.
Quick answer: To seal a ceramic urn, fill it with the ashes, make sure the rim and lid are clean and dry, then apply a thin, even layer of a strong adhesive such as clear silicone sealant or a ceramic-safe glue around the lip. Set the lid in place, press gently, and leave it to cure. The seal becomes touch-dry in about 10 to 15 minutes and fully hardens over 4 to 8 hours. Sealing is permanent, so only do it once you are sure.
What you need
- Your filled ceramic urn and its lid.
- A clear, strong adhesive: clear silicone sealant or a ceramic-suitable glue works well. Avoid water-based PVA, which is not strong enough.
- A clean, dry cloth.
- A flat, stable surface to work on.
How to seal a ceramic urn, step by step
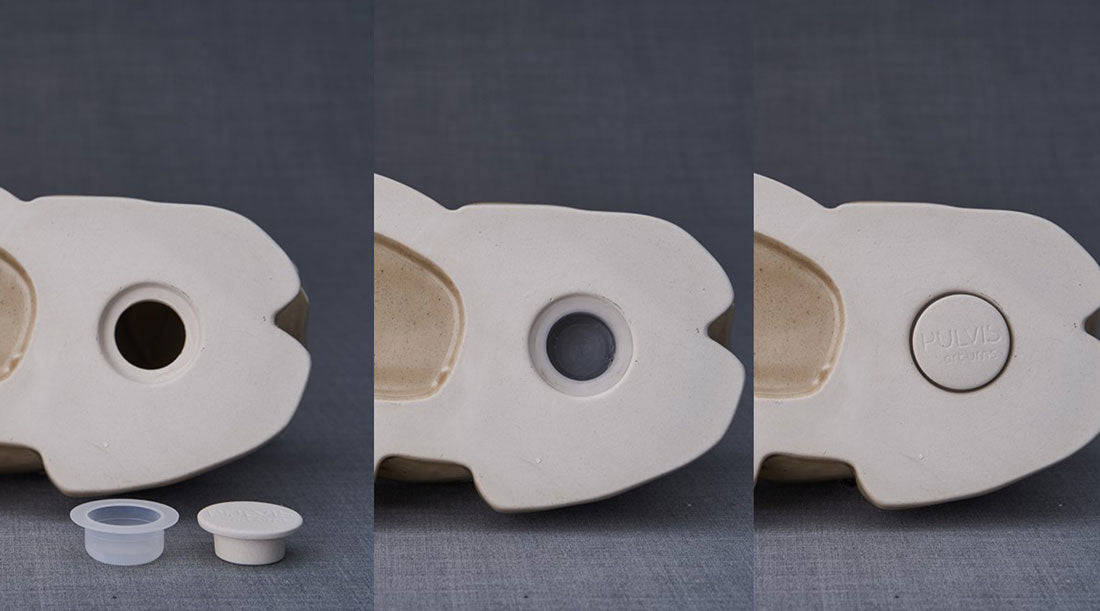
- Add the ashes. If you have not already, transfer the ashes into the urn. Most ashes come from the crematorium in a sealed plastic bag, which you can place inside the urn whole for an extra layer of security.
- Clean the surfaces. Wipe the rim of the urn and the underside of the lid so both are clean, dry and free of dust. Adhesive bonds best to a clean surface.
- Apply the adhesive. Run a thin, even bead of glue or sealant all the way around the lip of the urn, covering the whole rim with no gaps.
- Set the lid. Place the lid carefully and center it so it sits evenly, then rotate it slightly to spread the adhesive and close any gaps. Wipe away any excess that squeezes out with the cloth.
- Leave it to set. Within 10 to 15 minutes the adhesive forms a firm, silicone-like layer and is no longer tacky, so the urn can be moved gently.
- Let it cure fully. The seal hardens completely over 4 to 8 hours, depending on temperature and humidity. Leave the urn undisturbed until then before displaying or transporting it.

Do all urns need to be sealed?
Not all of them. Ceramic and porcelain urns have a lid that rests on the opening, so they should be sealed with adhesive if you plan to display, bury or transport them. Many metal urns close with a threaded screw lid that does not need glue. Biodegradable urns are not sealed at all, as they are designed to open and break down. If you are unsure, the product page for your urn will say how it closes.
A note before you seal
Sealing is permanent, so only do it when you are certain. If you think you may want to share a small portion of the ashes later, set some aside in a keepsake urn or ashes jewellery before you close the main urn. For more on preparing an urn, see our guide on how to fill a cremation urn, and browse the full range of ceramic and adult urns.
Frequently asked questions
What glue should I use to seal a ceramic urn?
A clear, strong adhesive such as silicone sealant or a ceramic-suitable glue. These hold firmly and stay flexible. Avoid water-based PVA glue, which is not strong enough for a lasting seal.
How long does it take for a sealed urn to set?
The adhesive becomes touch-dry and firm in about 10 to 15 minutes, so the urn can be moved gently. It cures fully over 4 to 8 hours, depending on temperature and humidity. Leave it undisturbed until then.
Do I have to seal my urn?
Only if you want it closed permanently for display, burial or travel. Many families keep a lidded urn at home unsealed so they can add or share ashes later. Seal it once you are sure you will not need to reopen it.
Can a sealed ceramic urn go outside?
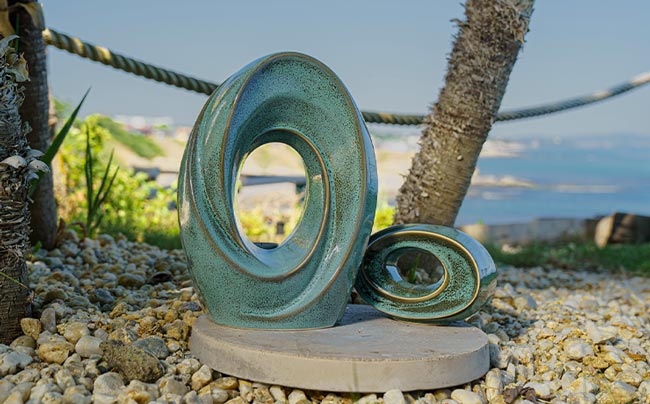
Yes, once properly sealed and fully cured, a high-fired ceramic urn can be displayed outdoors. Check the product page, as some finishes are better suited to sheltered spots away from frost and standing water.
Leave a comment
This site is protected by hCaptcha and the hCaptcha Privacy Policy and Terms of Service apply.